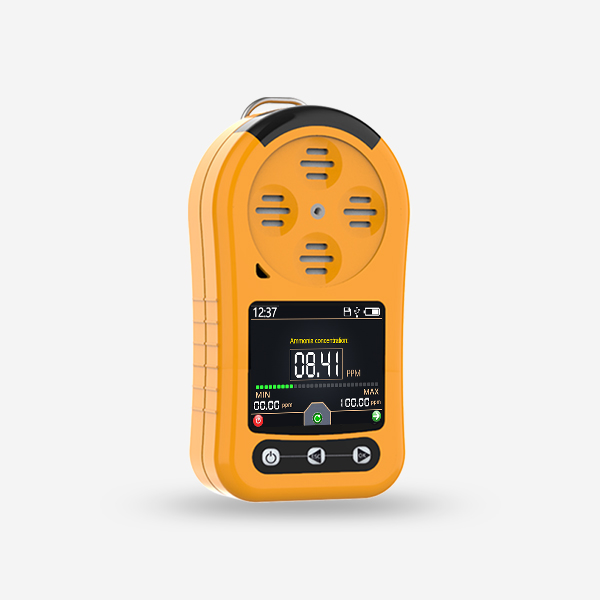
When it comes to workplace safety, it is important to ensure the accuracy and reliability of gas detectors. Regular calibration is the key to maintaining the function of gas detection equipment. In this blog post, we’ll walk you through the calibration process in five simple steps.

Step 1: Gather your equipment
Before you start, it’s essential to have the right tools. Typically, you’ll need a calibration gas cylinder, a regulator and a calibration cap or adapter specific to your gas detector model. Make sure to wear appropriate personal protective equipment, including gloves and safety glasses, during the calibration process. Additionally, perform the calibration in a well-ventilated area to guarantee safety.
Step 2: Prepare your gas detector
Begin by turning on your gas detector and allowing it to warm up for a few minutes. During this time, ensure that the sensors are clean and free from any dust or debris, as contaminants can affect the calibration process. Screw the bottom part of the regulator onto the calibration gas cylinder. Then, attach the sampling hose to the top connection of the regulator. This step is crucial for ensuring a secure and leak-free connection. Refer to your gas detector’s user manual for specific instructions on sensor cleaning and maintenance.
Step 3: Connect the calibration equipment and gas detector
Attach the regulator to the calibration gas cylinder and connect it to the gas detector using the appropriate tubing and calibration cap. Ensure that all connections are secure and leak-free. Double-check the compatibility of the calibration gas with your detector’s sensors to prevent damage.
Step 4: Start the calibration
Once the calibration equipment is properly connected, initiate the calibration process on your gas detector. Position the calibration gas cylinder and regulator in front of you. Turn on the gas detector while simultaneously opening the regulator. You’ll hear an initial beep, indicating the detector is functioning. After a few seconds, the internal alarm will sound due to the flow of gases through the clip. Allow the gas to flow for the specified duration, ensuring that the detector’s sensors have sufficient time to stabilize.
Step 5: Complete calibration and record results
Turn off the gas detector’s alarm and close the regulator. Carefully detach gas detectors from the sampling hose and unscrew the regulator from the calibration gas cylinder. It’s crucial to ventilate both the gas detector and the regulator thoroughly. By following these steps, you can be confident that your gas detector is properly calibrated and safe to use.
After the calibration process is complete, the gas detector will analyze the calibration gas and adjust its sensors accordingly. Verify the calibration results on the detector’s display screen or interface. Most gas detectors provide information about the calibration status, including the gas concentration detected during calibration. Take note of this information and record the calibration results in your equipment maintenance log for future reference.
Workplace safety
Calibrating your gas detector doesn’t have to be a complicated task. By following these five straightforward steps and referring to the manufacturer’s guidelines, you can ensure the accuracy of your gas detection equipment. Regular calibration not only enhances workplace safety but also extends the lifespan of your gas detector, making it a worthwhile investment in the long run. If you ever have doubts about the calibration process, don’t hesitate to contact one of our specialists! We’re happy to help you with our calibration services.
